Garlic is the essence of millions of fabulous dishes you may create for your dinner table. Growing garlic at home is easy and inexpensive. Maybe you don’t have any yard space to grow garlic at home. Is there a way to grow garlic without a garden? Absolutely, and learning how to grow garlic indoors is one of the easiest choices you can make!
A simple ingredient in your dinner creation also has amazing health benefits for your body. Garlic is made with sodium, potassium, calcium, sulfuric, vitamin C, D, B and essential oils. You can battle fungal infections with garlic, a valuable medicine used for centuries. There is no wonder it is one of the most common choices for novice and expert gardeners alike.
More...
Items You Need to Grow Garlic Indoors
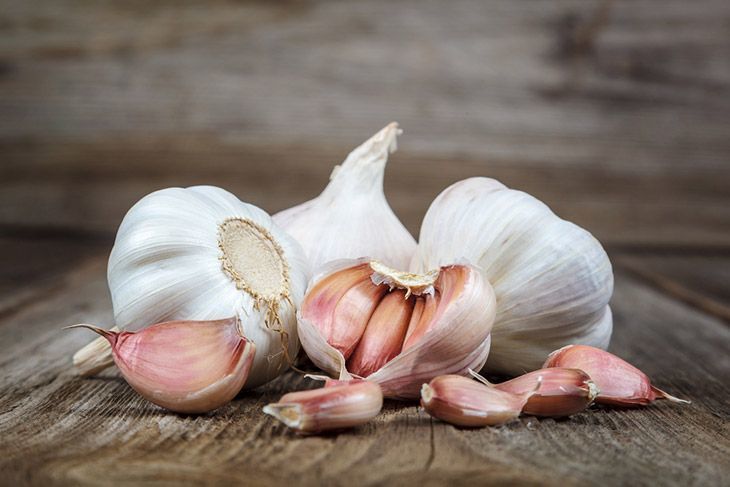
- A head of garlic
- Potting soil
- Organic compost
- Container
- Gardening gloves
The Best 9 Steps to Growing Garlic Indoors
#1. Decide How Much to Plant
Before you take any steps, it is important to decide how much you want to grow. If you love garlic, you may want to grow a few bulbs. Perhaps, you just want to grow one bulb to give it a try first. After you make this decision, you can purchase as many garlic heads as needed. Remember, each garlic typically has three to six cloves!
#2. Select the Right Pot
Part of your preplanning involves finding the right container for your garlic. An ideal choice will be at least eight inches deep. The pot should have a hole at the bottom for easy drainage. Depending on how many garlic cloves you plan to plant, you may need to purchase a wider one (or more than one). Each clove should be four inches apart and four inches away from the side.
#3. Fill the Pots
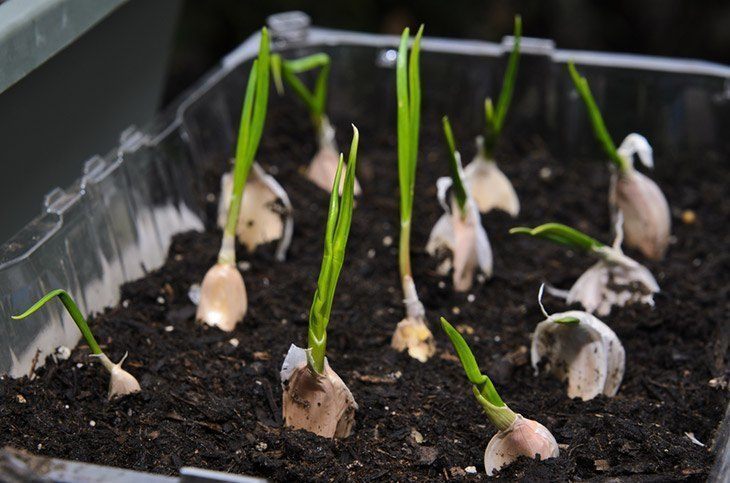
Fill up your pit with your potting soil, as well as some organic compost. The ideal choice for potting soil will contain medium-grit sand. Open up the garlic head, breaking the garlic cloves apart.
Place each clove into the pot, vertically, and push them down into the soil at a depth of one inch. The pointy end of the clove should be pointing upwards. Don’t plant cloves upside down! Make sure that you cover the cloves with soil after sowing them.
#4. Sunlight
All plants need sunlight to grow. Garlic cloves need sunlight to germinate and sprout. Your potted cloves should be placed in an area that receives plenty of direct sunlight. A southern facing window might be a good choice, or your kitchen windowsill could be the perfect place!
Check around your home. If you are growing garlic during the winter months, the window should receive six hours of sun each day. During summer, you want a window that receives 13 hours of sunlight.
Explore more: Help! How Many Cloves in a Head of Garlic? 2018 Edition
- You might find that you don’t have a window with sufficient sunlight. If that is the case, hang a grow light 15 inches above the pot to increase the amount of light received. The light should never be less than six inches from the top of the greens!
#5. Water Frequently
Another important factor to germinate is water. No plant can germinate in dry soil. After you plant your cloves and find the perfect location, soak the soil thoroughly for the first watering. Each day, remember to check the soil. If it feels dry, water it deeply. The clove should be in a moist soil.

#6. Clip Off Greens
You will know that your garlic is growing because little greens begin to sprout of out the soil. When they are three or four inches tall, clip them off. Make sure to leave an inch left so that it can continue to regrow. You clip off these greens to help reroute all of the energy into growing larger bulbs
- Don’t throw these greens away! They can be used in recipes. You can think of them like chives.
#7. Wait for the Brown
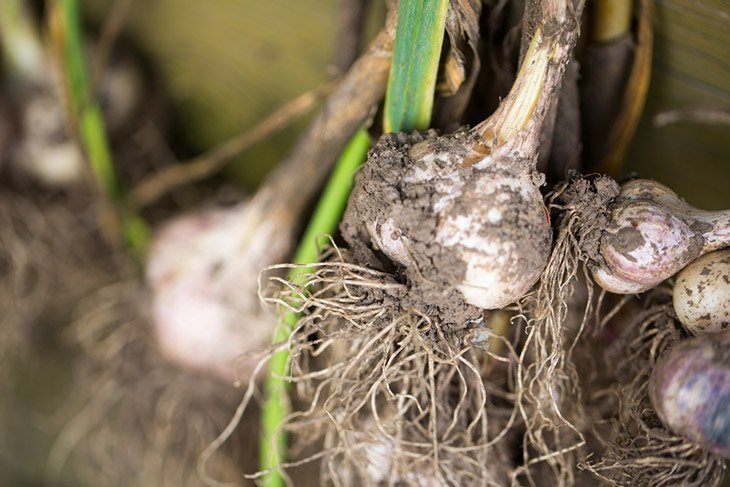
Those greens will eventually turn brown and stop growing. This sign means your garlic cloves are ready to be dug up! It is important to dig up the bulbs rather than yanking them out of the ground by the sprouts.
Remove as much soil from the bulbs as possible. Then, lay the bulbs in a warm and dry location. Bulbs need to cure for at least a week in a location that is 80 degrees. Make sure they aren’t receiving direct sunlight at this time.
#8. Start Over
The best reason to learn how to grow garlic indoors is that it is a constant cycle! Each clove grows into a bulb. Take a clove from that bulb and replant. Soon, you will have another head of garlic. There is no reason to purchase garlic from the stores when it is so easy to grow it at home!
#9. Store the Garlic Bulbs
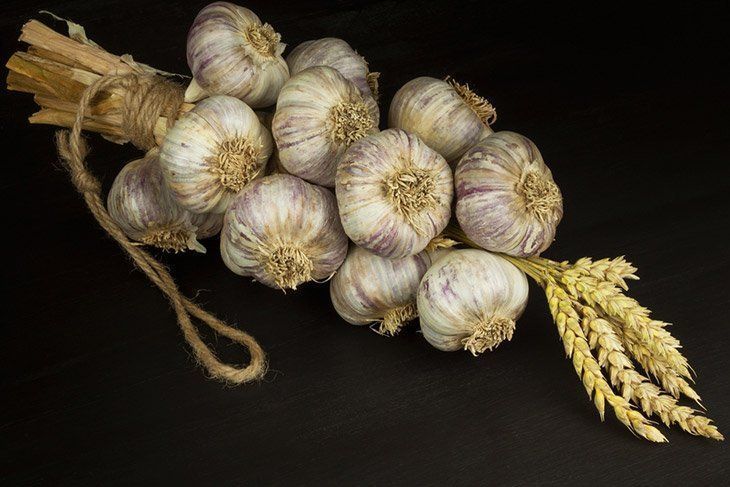
Once the bulbs have dried for the week, cut off the old sprouts one inch above the bulb. Remove any of the old, long roots at the bottom. You should store garlic in a cool, dry place where the temperature stays consistently around 60 to 65 degrees. Many people like to braid garlic heads together in panty hose and store them in basements or root cellars.
…and a smattering of pro tips:
Explore more: Top 5 Best Led Grow Light, July 2018 (Proven Tips)
Via: Youtube.com
Will You Get Actual Bulbs?
Many people don’t have luck growing full bulbs of garlic when growing indoors. Instead, they grow it for the never-ending supply of green, garlic-like sprouts.
While these sprouts aren’t the perfect substitution for garlic in recipes, you would be surprised at the multitude of ways to use garlic sprouts! If you are growing garlic primarily for these delicious sprouts, let them grow to be eight to ten inches before cutting.
Conclusion
You might have assumed growing garlic was difficult, but there is no reason to be intimidated. Growing garlic indoors is easy, with little steps and maintenance involved. A few cloves can create a long supply of garlicky sprouts and new bulbs. It is worth the effort, and far less intimidating than you might have assumed.
Did these steps help encourage you to try growing garlic indoors? We would love to know if you enjoyed this tutorial. Remember to leave a comment!
Like this post?
If yes, feel free to share this and leave your comments below!

