So, you have your first grow tent? But, do you also wonder how to set it up? If yes, you are probably reading the right article now! One of the most critical tools, if you are into indoor gardening, is the grow tent. And if you think that grow tent setup is a daunting task, well, you are wrong! It could be a simple process if you exactly know what to do.
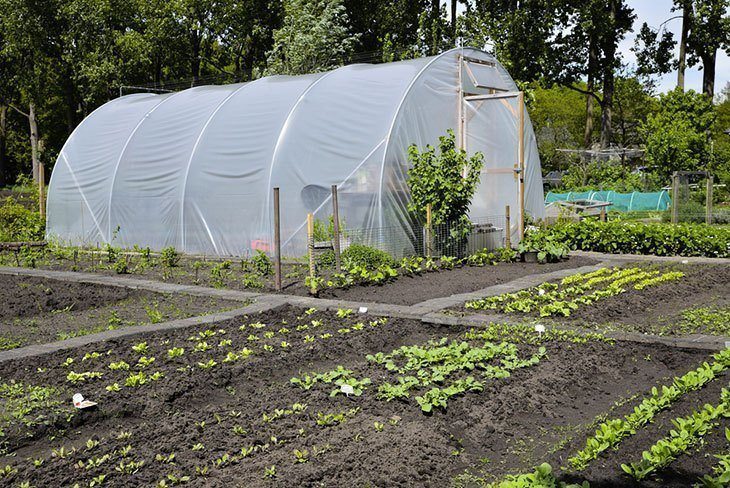
Grow tent setup
Continue reading fellas and learn how to setup your grow tent!
More...
Anyway, Why Use Grow Tent?
If you are into the hydroponic and indoor soil gardening, running a tent can simplify the process. It will allow you to grow crops almost all year long irrespective of the seasons since you could control the environment entirely.
And this leads to better harvests, fewer problems with pests and diseases and organized growing. However, there are two main reasons why setting up a grow tent could be an ideal choice and these are:
Total Environment Control and Efficient Use of Space
Grow tents will indeed allow you to have different growing environments at the same time in the same room, compared to polycarbonate greenhouse. In fact, it could be right next to one another if you like.
It would be an ideal environment for the plants mainly if you are a hydroponic grower. Compared to the usual outdoor setup, grow tents lead to a cleaner environment.
If you have a 4x4 grow tent, you aren’t required to build a grow room, and you can setup as well as transport the growing environment a lot easier. Also, it could also let you save money and could deconstruct and setup in just a few minutes especially if you are well guided.
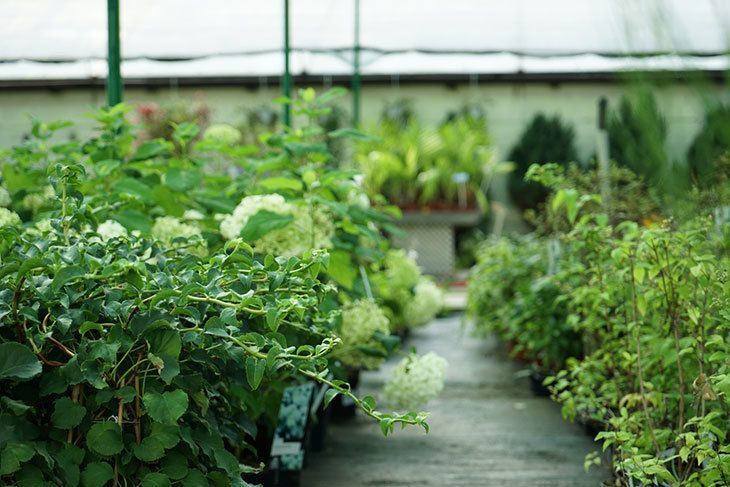
Beautiful garden plants in pots
The use of growing equipment could also be simplified through the use of a grow tent. Like for example, if you can buy the best grow tents out in the market today, like Gorilla Grow Tent, they might come with different ports which fit diverse sizes of ventilation fans, holes for the wires, reflective coating, built in holders for the grow lights, water-resistant floor trays, windows, light-proof and heavy duty exteriors and a lot more.
These are some of the reasons why using a grow tent is a wise choice by many gardeners and of course, grow tent setup guide could also be a great help!
Grow tent reviews: Advice on purchasing which grow tent review is useful, durable and the lowest price today?
Grow Tent Setup: Step by Step Guide
And now, let us come to the essential part of this post – the grow tent setup guide! Well, things could be a lot easier and faster if you will follow this guide.
Grow Tent Kit: Things Needed
Here are the materials or tools that you will need to setup the grow tent:
*Grow Tents
Of course, this sets up guide wouldn’t be possible if you don’t have a grow tent. In picking a tent, the space vacant to you is merely the most significant limiting factor. Make sure to select the one with sufficient vertical height to house the kind of plants that you plan to grow as well as the additional equipment. You can have a small grow tent if you also have a small space available.
*Grow Lights, Holders, Reflectors and Straps
The LED grow lights would give the plants energy to process the nutrients provided to them. They are considered to be a vital piece of equipment needed, so make sure to choose the right grow lights for your 4x8 grow tent.
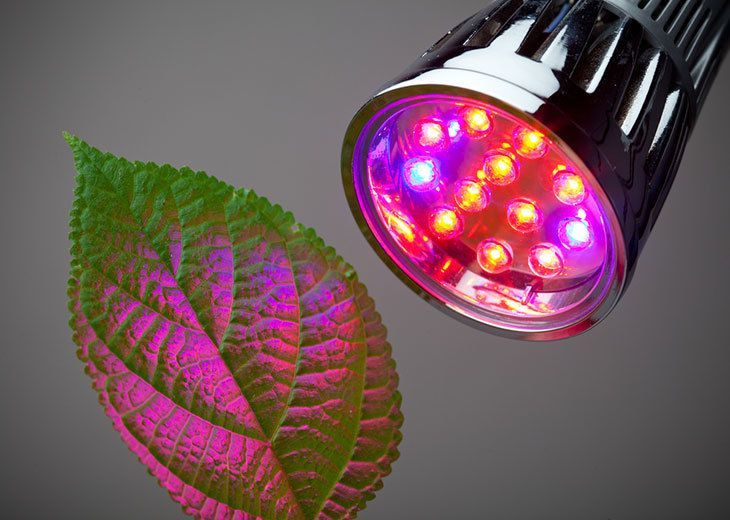
LED Grow Lights
*Air Flow and Ventilation
Of course, your plants need enough air exchange to grow healthy. So, proper ventilation would help the plants to breathe and help in keeping the humidity and temperature within the ideal range.
*Odor Control
In some cases, based on the kind of crop that you want to grow, you might need to filter the air which comes out the 3x3 grow tent to keep the extra pungent smell of some plants in check. So, you might need an appropriate ducting, carbon filter and also an excellent inline fan.
*Meters and Some Other Tools
And also, other tools might be needed for a grow tent setup including timers, plant supports, net trellis and humidity and temperature meter. You might also need a flathead screwdriver, box cutter or scissors, pliers or wire cutters, and tape measure.
You have to prepare the tools mentioned to ensure that you can setup your grow tent successfully.
And for the step by step instructions, follow these steps below:
Step 1. Assemble the Tools, and the Grow Tent
Indeed, there is a need for you to assemble the needed tools which are mentioned above. And also, you also need to gather the tent itself. The package includes the detailed instructions for a more guide.
Step 2. Decide the Ventilation Setup
There could be various configurations. However, it is advised that you hang the filter and fan inside the tent. This is considered as the best option for small to mid-sized carbon filters. It would maximise the growing footprint and will draw the air in through the filter. Therefore allowing the air to move slower as well as increasing the overall effectiveness of odour removal and hot air removal from the top of the tent.
If carbon filters are too big to hang, they must be placed on the floor inside the tent once possible. But, they might draw more warm air down to the plants once they are active and they would take up grow space too.
Finally, you can have the least desired option which is to place the fan and filter outside the tent. Though it could save the space, it might push the air through the filter at a higher speed so will reduce the effectiveness of the filter for the odour control.
The noise of the fan will increase too as it is found outside of the tent. This option is used only if you have huge carbon filters and once grow space is at its absolute premium.
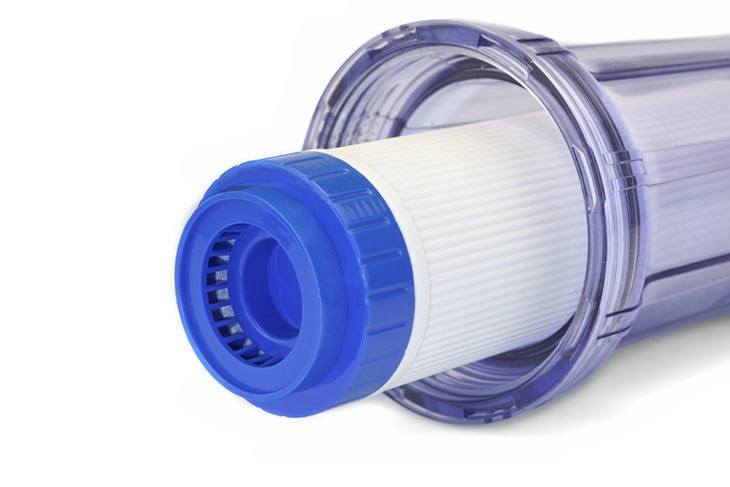
Carbon filter
Step 3. Carbon Filter Preparation.
After determining the ventilation setup, you now need to prepare the carbon filter. First, you need to slide the pre-filter on the carbon filter and make sure to secure it with included elastic bands.
Here are the steps you can follow for either of the three options:
*Hang Inside the Tent
*Place inside the Tent
*Place outside the Tent

Exhaust Fan
Step 4. Hanging the Lighting System
After preparing the carbon filter, based on your chosen option, you now need to hang the lighting system. Follow these:
Step 5. Install the Light or Fan Timer
And now, you are into the last step which is to install the light or fan timer. You first need to plug the light system cord into the side of the timer. Plug the fan power cord to the other side of the timer if you will be timing the fan too. Or just plug it to a constant power source.
You also need to plug the timer into a 120V wall socket, power strip or extension cord. And follow the instructions that are included with the timer to set the run times.
There you have it! You’re done! You are now ready to add your plants and finally get them growing! However, before you turn on everything, you need to double check the electrical connections as well as the hanging straps and hooks. Indeed, this grow tent setup guide will help you get going!
You may also watch this video to learn more how to set up a grow tent
Via Youtube.com
Like this post?
Let us know what you think by leaving a comment below. Share it with your friends, too!

