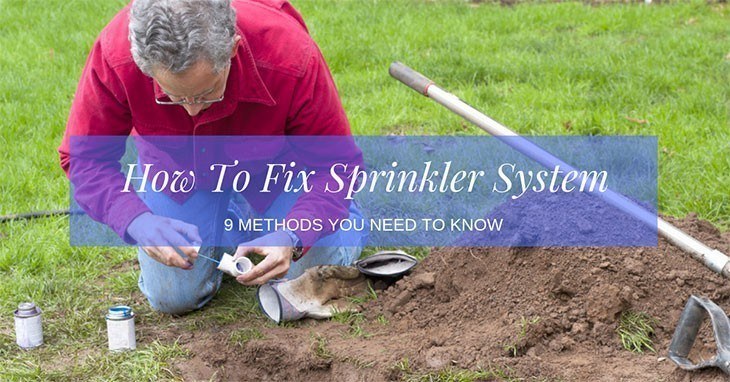
Over time, the sprinkler system can break or suffer from issues, but you should not worry because you can do irrigation repair yourself for the common problems like the following. And now, let's learn how to fix sprinkler system?
More...
1. Broken sprinkler head
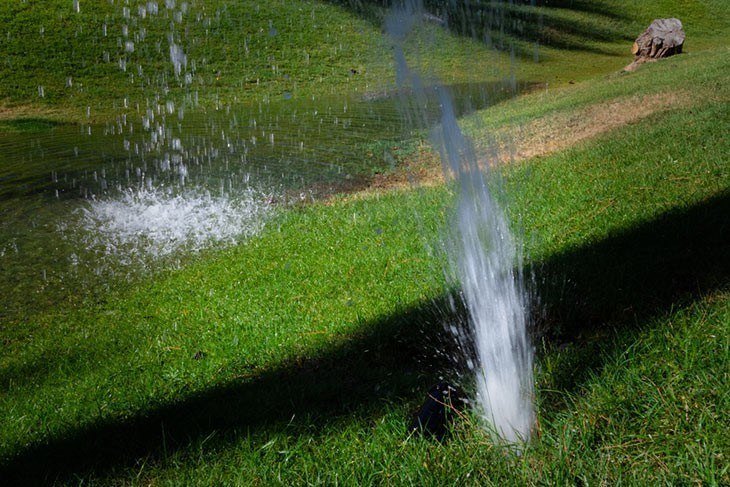
Broken sprinkler head
Is the sprinkler head popping up and spraying water everywhere? Or is it not popping up? It can be a broken spray head that can happen from time to time especially when a vehicle or the lawn mower itself has driven over it.
Fix it by finding the right sprinkler head matching the irrigation head and replacing it. Make sure to find the match for your irrigation system for accurate water delivery in your desired pattern. A few options include rotator nozzles, fixed, adjustable and speciality nozzles.
2. Low water pressure
This problem leads to little to no water shooting from the sprinkler heads. And in some cases, the heads do not pop up. It is another common problem of a sprinkler system.
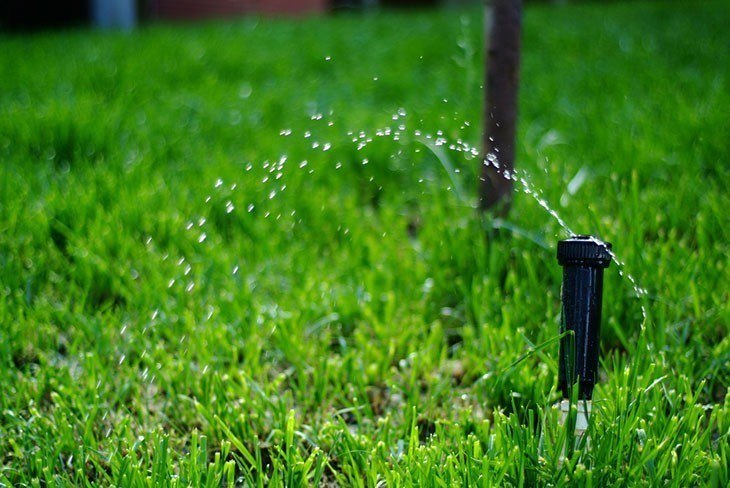
Low water pressure
One of the things to do is to inspect the backflow device’s valves to see if they’re open.
Make sure to turn on the horizontal pipe’s valve before switching on the vertical pipe valve.
You can tell that the valve is open once the handle is parallel with the pipe.
(The backflow device is above ground and its valve 12 inches above the highest point of the yard’s sprinkler head. Many of these devices have a valve on both the vertical and horizontal pipes.)
Another thing that can cause low water pressure is leaks! To solve it, find and repair it. Cut out the line’s damaged section and install a slip coupling. Secure it using band clamps.
- 1Check sprinkler heads and find those that do not shoot water properly. Usually, the leak or water line problem is between the first non-functioning spray head and the last working spray head.
- 2Look for leaks, with signs including bubbling water from the soil when the irrigation system is turned on or a very wet area.
- 3Dig straight down to the line of water once you found the leak site. Find the crack or break following the leaking water flow. Repair the leak with a slip coupling.
- 4Cut out a four-inch section of the line, and put a clamp on one of the ends before inserting the coupling and then start tightening the clamp. Put a clamp on the end of the second pipe, and then expand the coupling while also inserting a nipple into it. Tighten the clamp.
3. The water sprinkler controller stops working
Certain reasons cause the sprinkler controller to stop working, including failing to keep time, not turning in the manual mode, dial not turning. The problem can also be the controller not turning off.
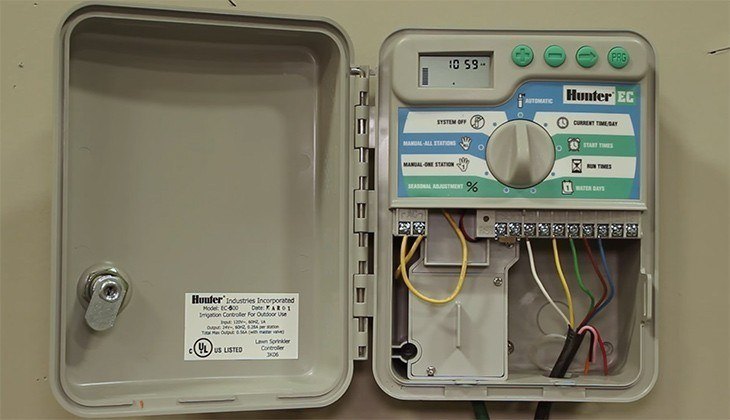
The water sprinkler controller stops working
One of the problems can be on the controller not switching to the manual mode. When it does happen, it means that there is no power to the controller. To fix it, check that the controller is wired properly based on the system’s Electrical Circuit and Connection diagram.
* Problem: The controller isn’t turning off
Check that the wires aren’t pushing against the relay or switch and that those leading to the switch are attached. The controller can be improperly wired, so ensure that the input wires are directly wired to the load.
In some cases, you might need to adjust the switch for auto operation. On the other hand, the controller’s switch knob might not be in the “off” position. To fix it, turn the auto on-off switch to OFF.
* Another problem: The controller is not keeping proper time.
To fix it, see that there is proper connection of power to the controller. Also, make sure that the voltage to the motor is 120V or 240V based on model.
On the other hand, the clock motor is turning but the clock’s time dial isn’t turning. The problem can be due to a broken drive gear.
If it is, remove the time dial and check the drive gear. If broken, install a new one and put the time dial back. See if it is now turning freely.
* Mixing heads with different pressure ratings and precipitation rates
One of the most important aspects in irrigation design is to understand different rates of precipitation.
Know that sprinklers are putting down water at varying precipitation rates.
Otherwise, not understanding the differences in rates will lead to under watering/overwatering of certain garden areas.
Avoid this problem by understanding each sprinkler’s precipitation rate and using only those with similar pressure ratings on the same zone for efficient water in all garden areas.
4. Overwatering sprinkler
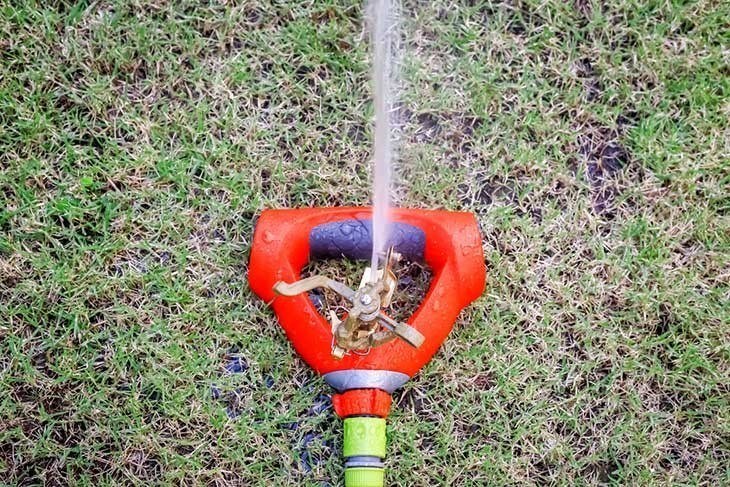
Overwatering sprinkler
This problem leads to water waste and eventually erosion. In time, it will also result to the depletion of soil nutrients that spells bad news for every gardener.
If this is your sprinkler’s issue, you should consider upgrading the system to another one that can conserve water and distribute it more efficiently.
5. A worn out valve diaphragm
If yours is an automatic garden sprinkler system and its valve diaphragm is worn out, you should replace it.
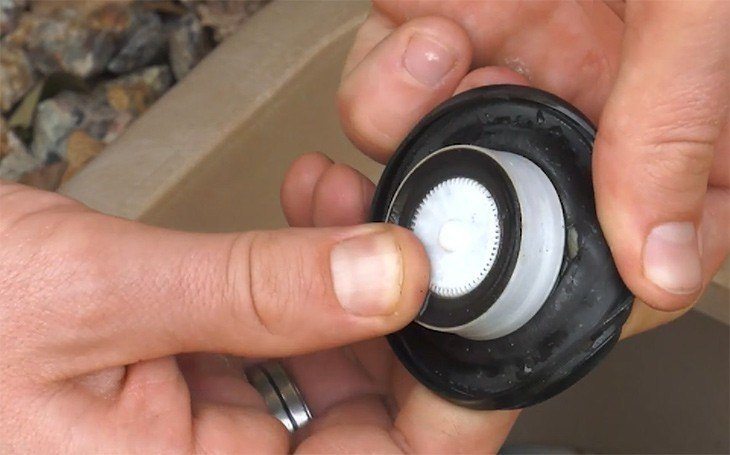
A worn out valve diaphragm
So if you notice that it’s damaged and if it continuously failing to stop the flow of water, you can follow these tips on how to replace the valve.
- 1Check sprinkler heads and find those that do not shoot water properly. Usually, the leak or water line problem is between the first non-functioning spray head and the last working spray head.
- 2Begin unscrewing the bonnet from the box of the valve. Be sure to remove any dirt and debris, including pebbles and moisture from the box.
- 3You can take out the spring gasket and diaphragm, and then look for the small alignment holes.
- 4Get the new diaphragm and replace that in the box. Be sure that you are lining up the holes. Put the spring on the post, and then place the bonnet on top. Get the solenoid to its original position.
- 5Connect the external ring to the bonnet before screwing it back.
- 6Reconnect the wire connections with a connector.
- 7Turn the water supply back on but slowly to test the system and inspect for leaks. See that the valve is turning on/ off properly.
6. Zone isn’t working
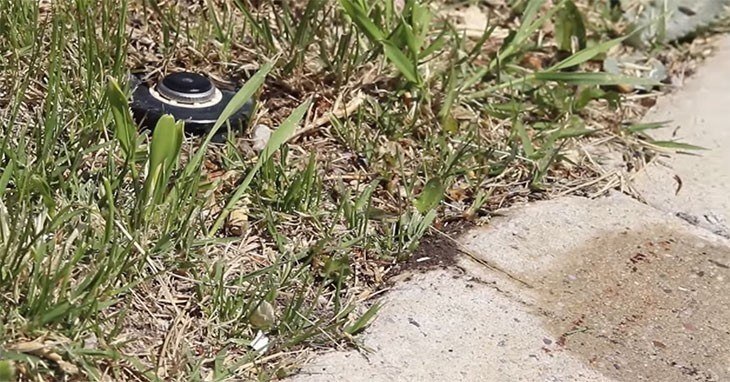
Zone isn’t working
If the zone stopped working, there might be an issue in the voltage. Know that the water system is divided into zones; each has its valve controlling a sprinkler head.
If there is a non-working zone, check for an electrical problem.
Inspect that the wires are attached to the controller’s terminal. Also, see that the transformer is plugged in. Finally, check that the circuit breaker is turned on.
Test the nonworking zone’s voltage with a multimeter. At the controller, turn the nonworking sprinkler system zone before turning the multimeter’s dial to voltage.
Put one lead on the common terminal, and put the other lead on the terminal of the nonworking zone.
Get your manual and check if the voltage reading is falling within range. You should replace the controller if it doesn’t fall within the needed range.
7. Zone valve leaks
This problem can be caused by some issues. For one, it can be due to a damaged or torn diaphragm inside the valve.
To fix the problem, you can just disassemble and then rebuild the valve with a new diaphragm.
If the cracked body of the valve is causing the leaks, you can replace the zone valve.
Via Youtube.com - How to fix a leaking Sprinkler Valve
8. Leaking at the sprinkler head located farthest from the zone valve
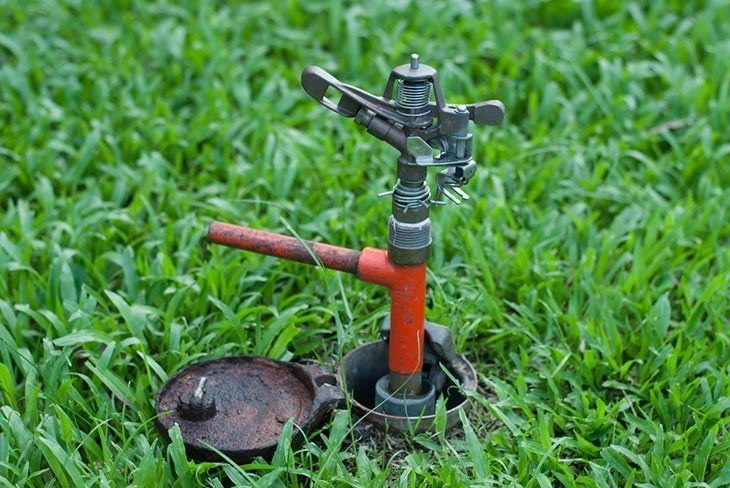
Leaking at the sprinkler head located farthest from the zone valve
If you notice leaking or standing water, two possible causes can be: There can be a damaged or dirty sprinkler head that needs cleaning or replacing.
You should inspect the head before correcting any issue that you find. A valve that is installed backward can be the problem, so inspect the valve to ensure that there is proper flow.
On the other hand, the problem can also be due to a damaged or worn out zone valve, leading to the valve not closing totally. Clean and rebuild the valve, and see if it solved the problem. If not, it might need replacement.
9. Water not spraying out the nozzle
If the head’s shaft is extending out but the water isn’t coming out the nozzle, it can be clogged by debris. The same goes on its screen, which may also be blocked by dirt or debris.
To fix it, you can turn the system off and then take the nozzle out. Be sure to clean all the debris from the screen of the nozzle.
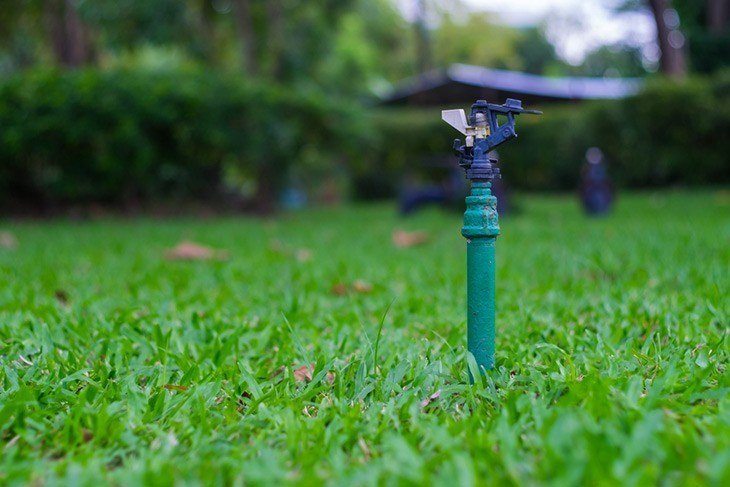
Water not spraying out the nozzle
In order to remove the nozzle, pull its stem out its body using one hand while gripping the nozzle with another hand.
Hold the shaft, and then rotate the nozzle counterclockwise. You should be able to unscrew and then pull the cap of the rotor and the stem in order to access the nozzle and setscrew because there are many manufacturers of rotor sprinkler head that design nozzles to be locked into position.
Conclusion
There you have the most common irrigation system problems and ways you can do an irrigation repair yourself!
Did you learn from this short tutorial? Tell us in the comments. Or do you know someone who might need this help? Share this post today!

